Introduction
In this documentation, we’ll be deploying our application frontend code which is in our GitHub repository using two services of GCP (Google Cloud Platform), first is Google Cloud Run and then further we will be configuring a trigger using Google Cloud Build service so that whenever a code is pushed in the repository in the branch defined with trigger it will automatically update the application running on the internet.
Google Cloud Run
Google Cloud Run is a serverless computing platform powered by Google Cloud Platform (GCP) that allows developers to easily deploy and manage containerized applications without the need to manage servers or infrastructure. With Cloud Run, developers can package applications in Docker containers, deploy quickly, and automatically measure as they’re delivered. Key features of Google Cloud Run include auto-scaling, pay-as-you-go pricing, and support for popular programming languages and frameworks. Designed for microservices-based architectures, this software allows developers to easily build and run applications by focusing on writing code rather than managing processes. Google Cloud Run simplifies the deployment and scaling of containerized applications, making it simple and efficient for a variety of applications.
Google Cloud Build
Google Cloud Build is a continuous integration/continuous deployment (CI/CD) service provided by Google Cloud Platform (GCP). It automates and simplifies the software development process by allowing developers to create, test, and distribute their code consistently. Cloud Build; It is designed to work seamlessly with popular version control systems such as Git, GitHub, and Bitbucket, and supports multiple programming languages and development tools. Key features include build pipelines, autoscaling for faster execution, and integration with other GCP services such as Kubernetes Engine and App Engine. Cloud Build’s development team improves performance, improves code quality, and accelerates the delivery of software applications, making a valuable contribution to everyday software development.
Steps to implement:
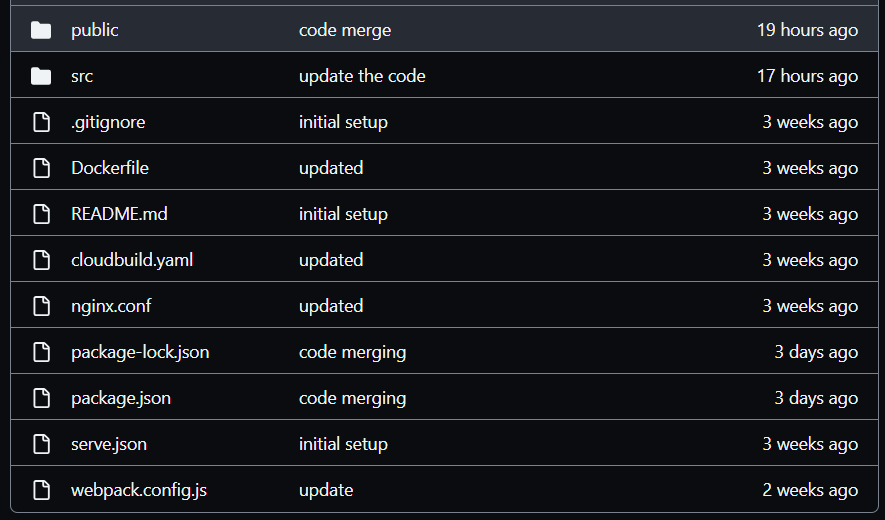
- Create a GitHub repository:
Create a Git repository and push your code for the frontend of your application there.
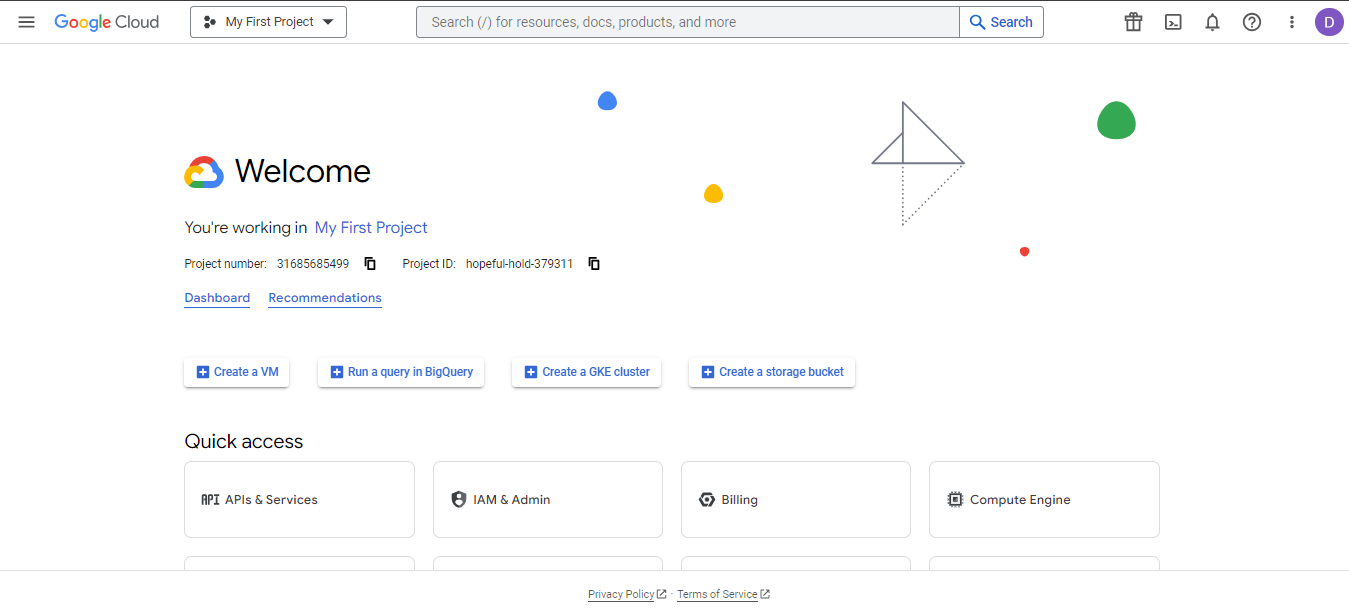
- Now go to GCP console by visiting https://cloud.google.com and log in into your account and select the project where you need to deploy the application.
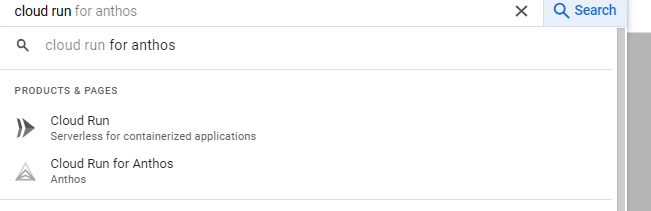
- Now type Cloud Run in the search box of your GCP console and click on it. It will open the cloud run service window.
- The Cloud Run console will look like this:
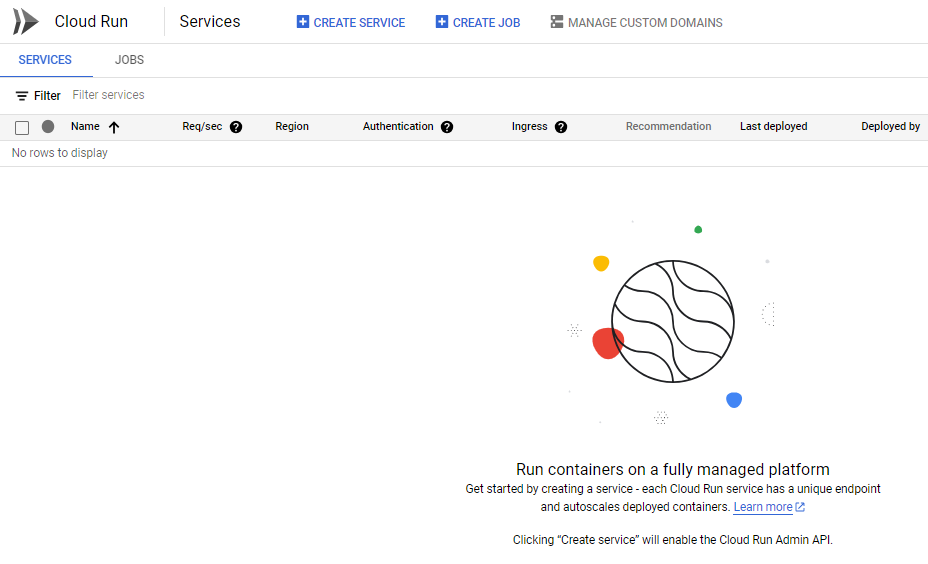
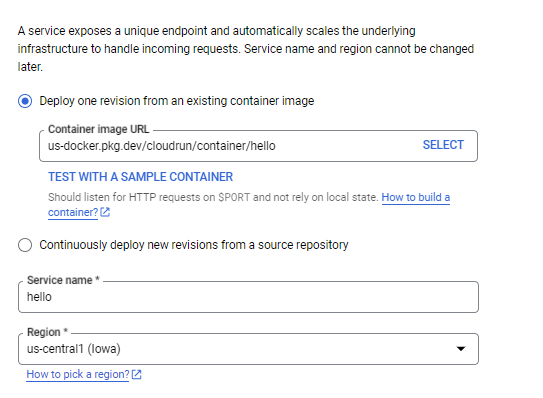
- Now click on CREATE SERVICE. This will open the service configuration window for Cloud Run.
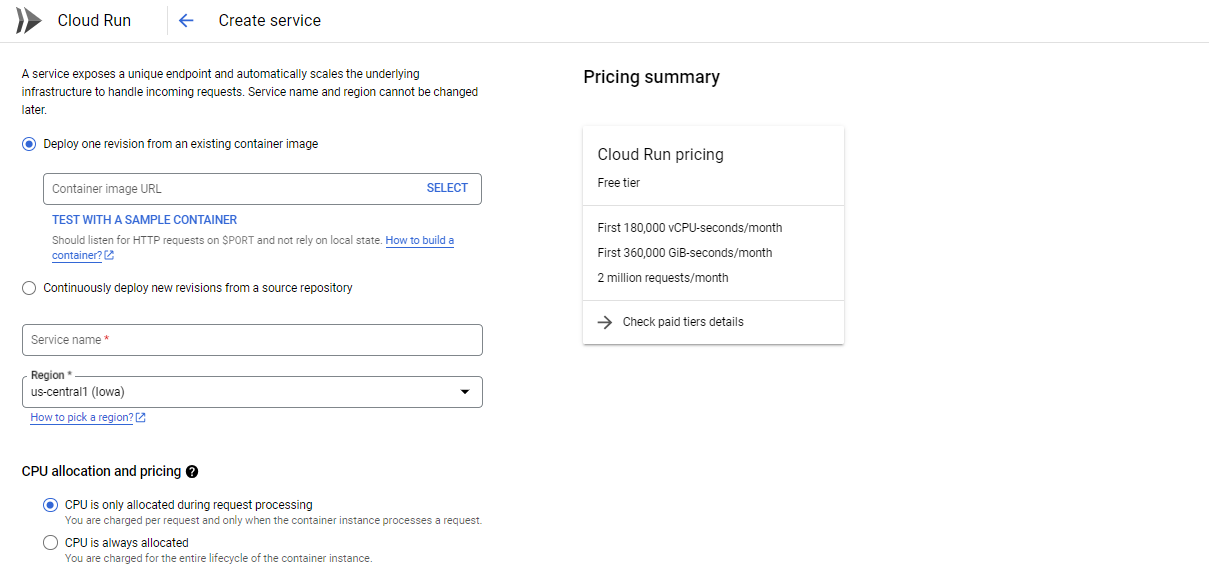
- Now click on TEST WITH A SAMPLE CONTAINER option for the first time so that it will automatically select the hello image which is default provided by the cloud run to test the service. After that Give a suitable Service Name for your deployment and select the region in which you want to deploy your Cloud Run deployment.
- Select the CPU is only allocated during request processing in the CPU allocation and pricing section.
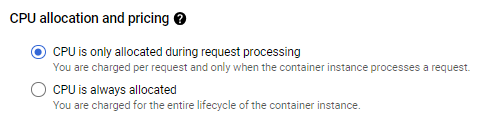
- Under the free tier of GCP First 180,000 vCPU-seconds/month, First 360,000 GiB-seconds/month and 2 million requests/month won’t be chargeable to the user.
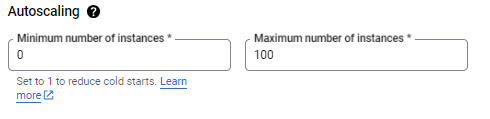
- In the AUTOSCALING section keep the keep the minimum number of instances to 0 and maximum number of instances to 100.
- In the Ingress control section select the ALL option so that your service is accessible over internet.

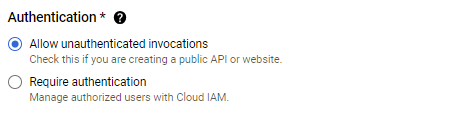
- Now in the Authentication section select the Allow unauthenticated invocations and select this option only if you wish to make your API public or a public website
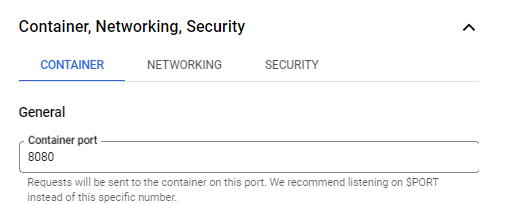
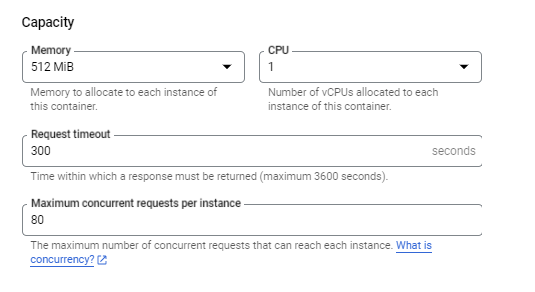
- Now click on the Container, Networking, Security section and here you can select the Container Port, Capacity of the container, max timeout and concurrent request per second. By default they are set as max timeout 300 seconds and 80 concurrent request per second.
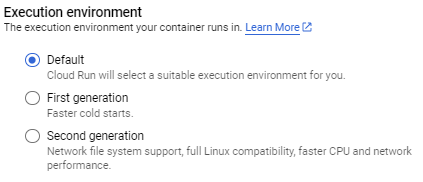
- Now in the Execution Environment section select the default option.
- Once the service is created using the default hello container image you will see a dashboard for this cloud run service.

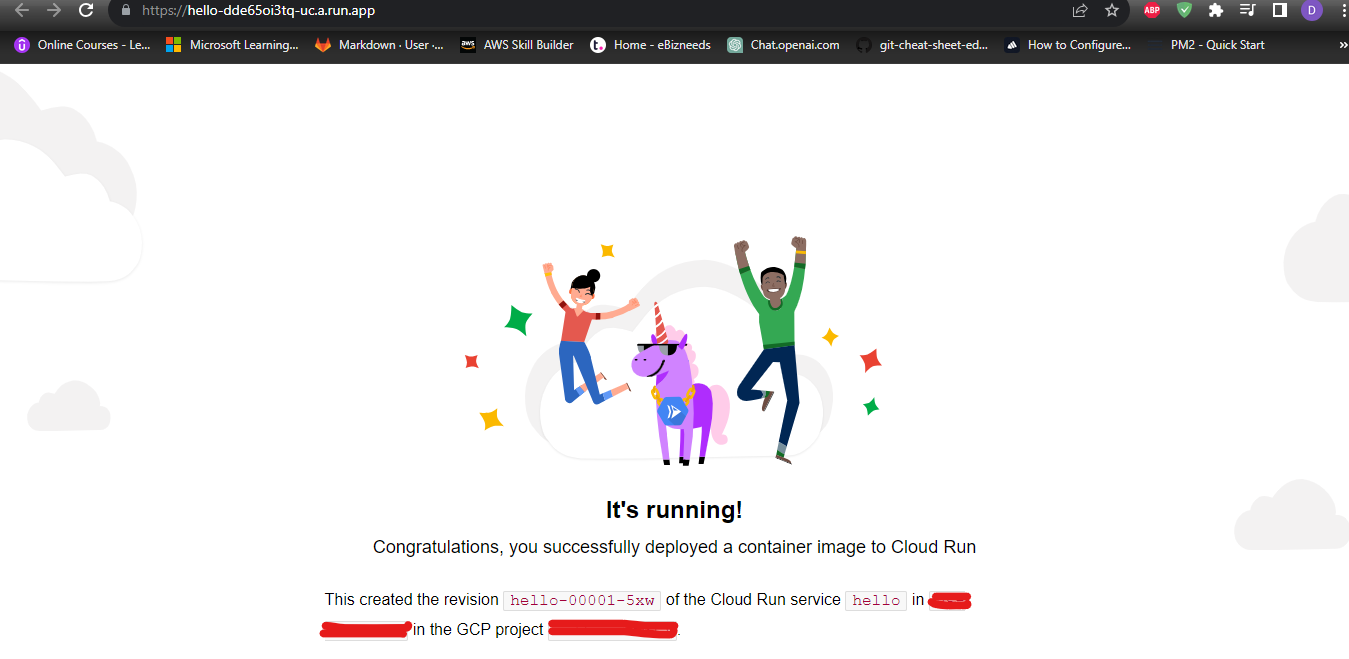
- Now here we can see a auto-generated url from this clous run service if we click on this URL it will redirect to the hello container and display its successful deployment message on our browser.
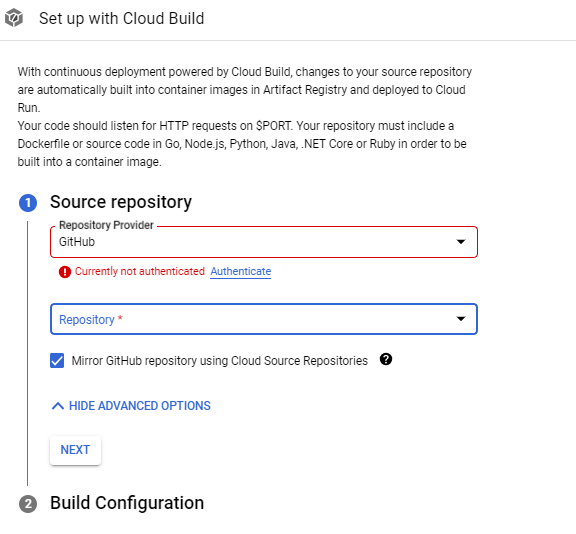
- Now for using the Cloud Build service click on the SETUP THE CONTINOUS DEPLOYMENT option.

- The SETUP with CLOUD BUILD dialog box will open where you can authenticate your GitHub account and then select your repository and the branch from which you want your deployment to be picked whenever a push is made to the code from this branch. And once created a trigger will be attached to this Cloud Run service.
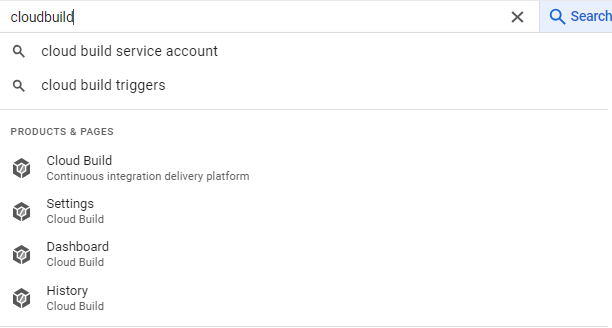
- Now type Cloud Build in the search option of your GCP console and click on it.
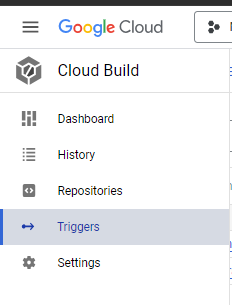
- Once the CLOUD BUILD is open go to TRIGGERS and click on them.
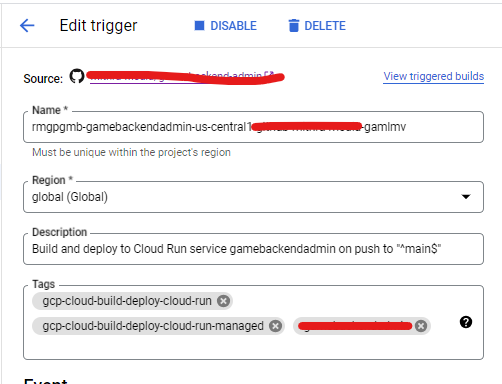
- Select the trigger associated to your CLOUD RUN services and click on EDIT option.
It will open the Edit Trigger dialog box you will be able to se the short description of your trigger and from which repository it is linked.
- Now create a cloudbuild.yaml which will instruct the cloudbuild while reading your repository that what instructions should be followed in order to build this code ands deploy it to cloud run.
steps:
# Build the Docker image
– name: ‘gcr.io/cloud-builders/docker’
args: [
‘build’,
‘-t’, ‘gcr.io/$PROJECT_ID/<yourcloudrunservicename>$SHORT_SHA’,
‘–build-arg’, ‘GENERATE_SOURCE_MAP=${_GENERATE_SOURCE_MAP}’,
‘–build-arg’, ‘REACT_APP_MODULE_NAME=${_REACT_APP_MODULE_NAME}’,
‘–build-arg’, ‘REACT_APP_API_URL=${_REACT_APP_API_URL}’,
‘–build-arg’, ‘SKIP_PREFLIGHT_CHECK=${_SKIP_PREFLIGHT_CHECK}’,
‘.’
]
# Push the Docker image to Google Container Registry
– name: ‘gcr.io/cloud-builders/docker’
args: [‘push’, ‘gcr.io/$PROJECT_ID/<yourcloudrunservicename>:$SHORT_SHA’]
# Deploy to Cloud Run
– name: ‘gcr.io/cloud-builders/gcloud’
args: [‘run’, ‘deploy’, ‘<yourcloudrunservicename>’, ‘–image’, ‘gcr.io/$PROJECT_ID/<yourcloudrunservicename>:$SHORT_SHA’, ‘–platform’, ‘managed’, ‘–region’, ‘<your-region>’, ‘–allow-unauthenticated’, ‘–port’, ‘8080’, ‘–timeout’ , ‘900’]
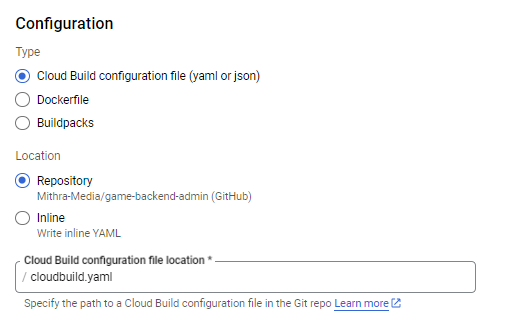
And save this file as cloudbuild.yaml and push this file to your remote repository and comeback to your edit trigger option and scroll down to the Configuration option and select type as cloudbuild configuration file and Location as Repository
- Now scroll down to the Environment variables section and add the variables that are required for your application and click on save.
- Now you have successfully configured the continuous deployment setup and whenever a code will be pushed it will automatically fetch the changes the from your source repository build it and deploy it to your cloud run.
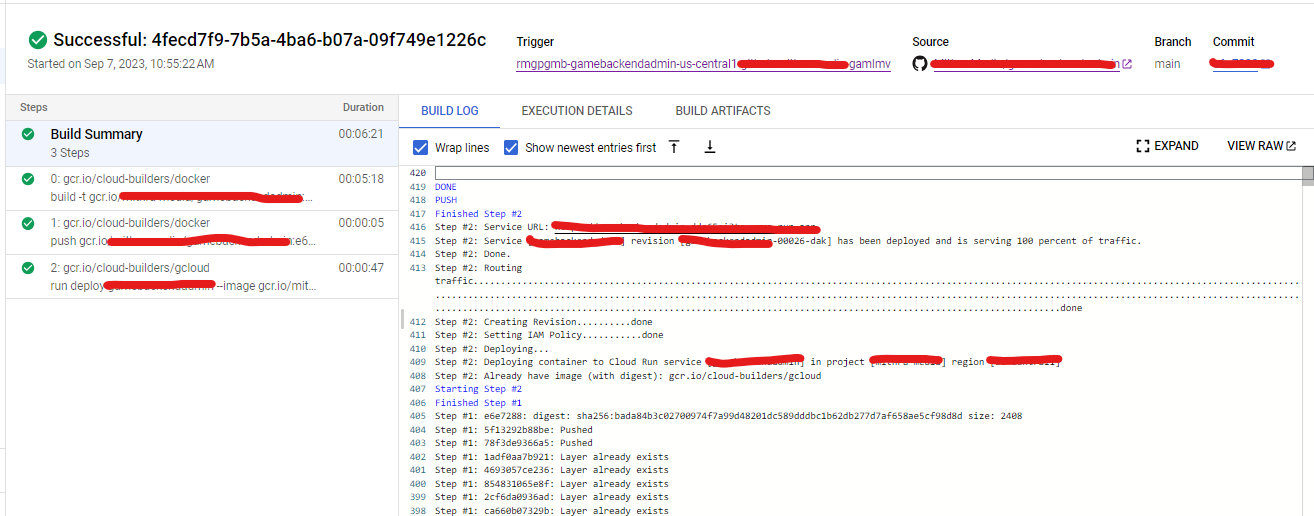
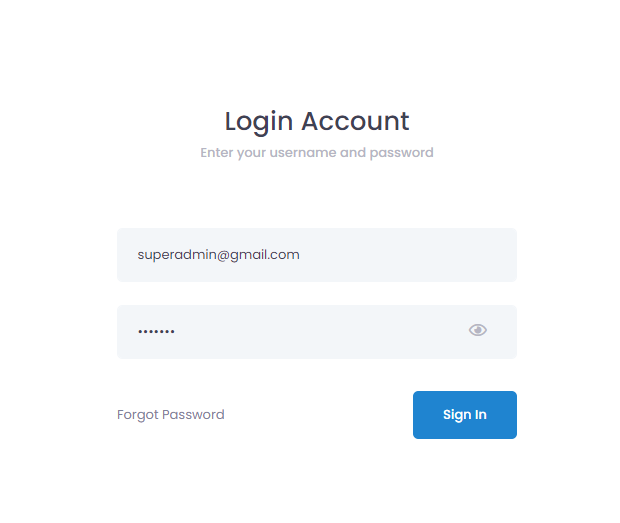
- Once the build is completed you can visit your cloud run autogenerated url and now when you click on it you will be able to see your application’s frontend is deployed and accessible through your Cloud Run service URL.
So, in this documentation we deployed our application’s frontend using the Cloud Run and Cloud Build services of GCP (Google Cloud Platform).