Introduction
In this documentation, we will configure the locust load test and generate a locust URL by deploying it inside a pod deployed inside a Google Kubernetes Engine autopilot cluster using a simple python script which will be executed inside the pod when created.
Key Points for Setup:
- Locust: a brief introduction
- Python script for locust
- Dockerfile for building the image for locust setup.
- Register image in GCR
- GKE cluster autopilot setup
- Configuration and creation of deployment and service manifest
- Testing and verifying the URL for locust
Locust

Locust is an open-source load testing tool used to measure the performance and scalability of web applications. It simulates virtual users, called locusts, to perform tasks like making requests and processing responses. It allows customization through Python code and supports distributed testing across multiple machines. Locust provides real-time monitoring and reporting of performance metrics, helping identify bottlenecks and optimize system capacity. Overall, it helps ensure applications can handle heavy traffic and perform well under stress.
Python script for locust
from locust import HttpUser, task, between
class MyUser(HttpUser):
wait_time = between(1, 5)
@task
def my_task(self):
self.client.get(“path/to/the/web”)
Dockerfile for building the image for locust setup
- Creating a Dockerfile.
FROM python:3.9
COPY my_locust_script.py /locust/
WORKDIR /locust
RUN pip install locust
CMD locust -f my_locust_script.py
- Building a docker image using this Dockerfile by executing following command:
docker build -t <image-name> .
Registering the image to GCR (Google Container Registry)
- Configure gcloud for docker
gcloud auth configure-docker
- Tag the image to the GCR repository
docker tag gcr.io/[PROJECT_ID]/<image-name>:latest
- Push the image to the GCR repository:
docker push gcr.io/[PROJECT_ID]/locust-image:latest
GKE autopilot cluster setup
In this section we will be creating an autopilot cluster in the Google Kubernetes Engine. Following these steps will setup the autopilot cluster:
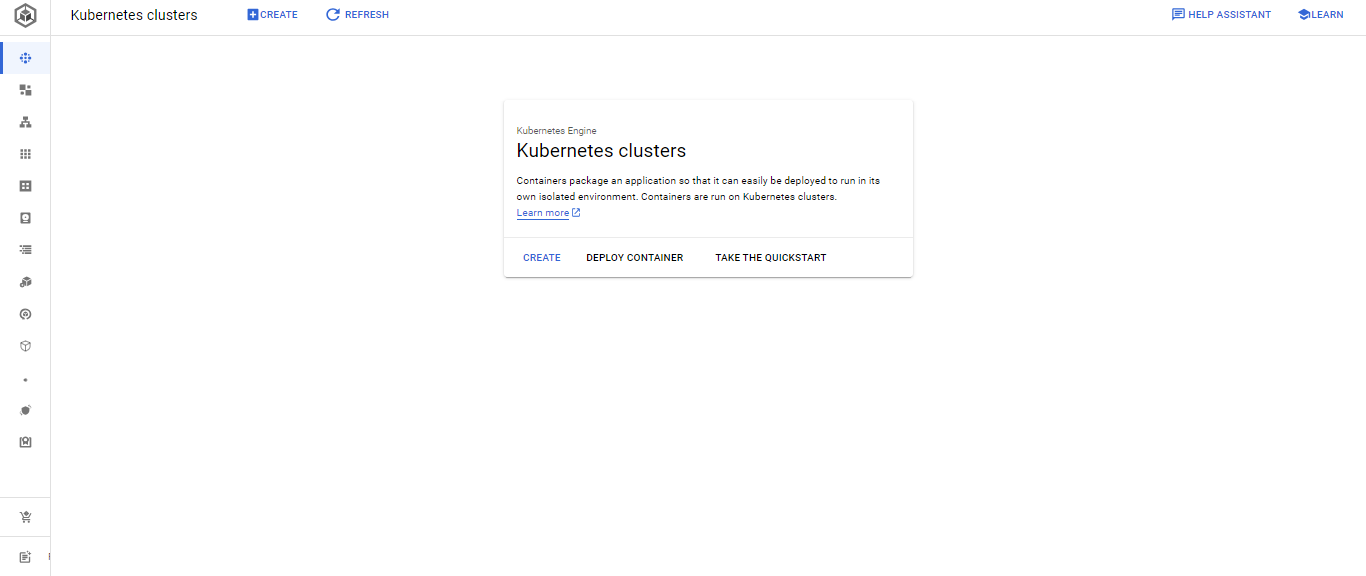
- Go for the url https://cloud.google.com and search for Kubernetes Engine and hit enter it will redirect you to the Google Kubernetes Engine page.
- Click on Create, by default GKE provides you an option to create an autopilot cluster so that most of the things inside a cluster are managed by the Kubernetes engine itself. But if you want to manage all by yourself you can go for the standard method. Here we choose the autopilot method.
- Name your cluster and select your region.
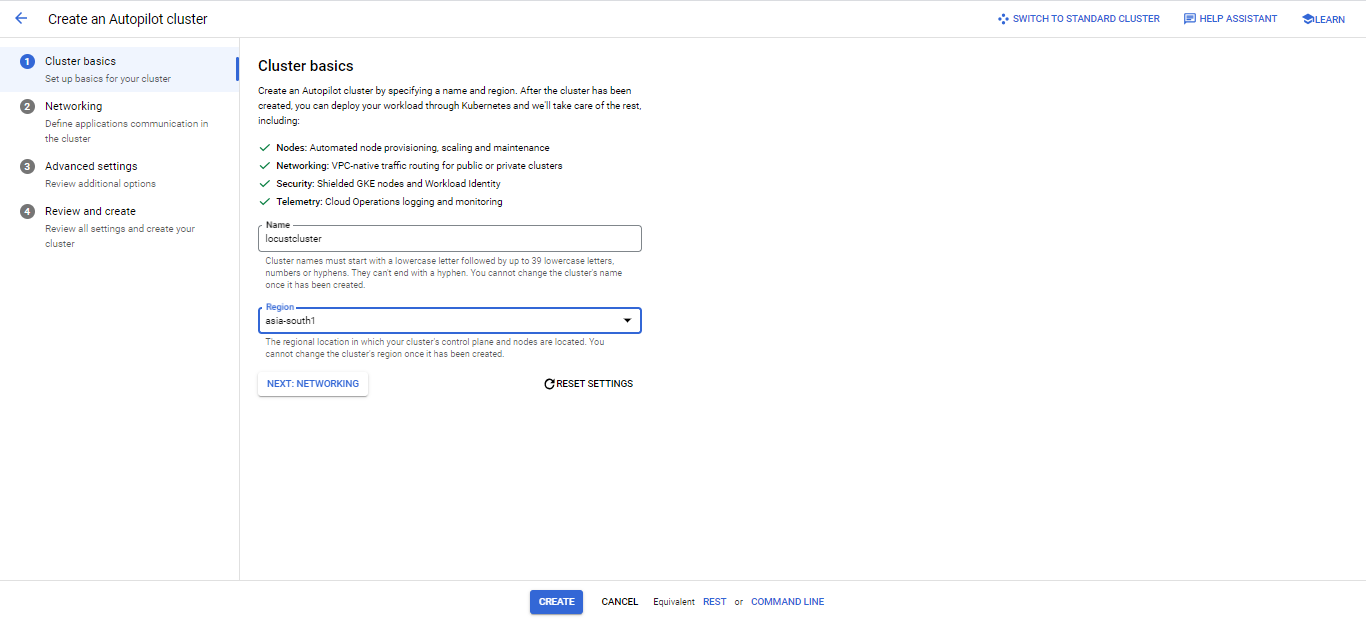
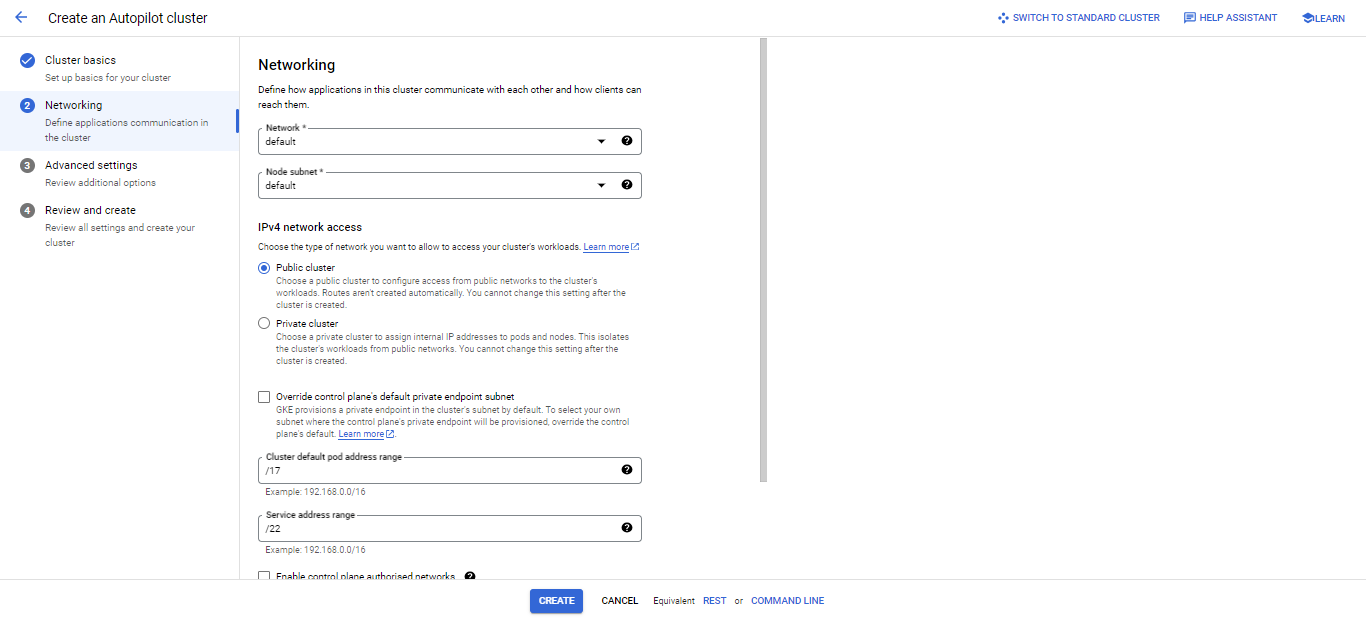
- After naming your cluster and selecting the region click on Next for networking configuration and choose the network and mode of cluster whether it is going to be public or private cluster, which in our case will be a public cluster and then click on next for Advanced settings.
- Now select the cluster release channel, we choose Regular channel which is the default option. And then we review and create the cluster.

- Now review the configuration for once and then click on Create cluster. It will take some time to create the cluster so we’ll have to wait till the time it gets provisioned.

Configuration and creation of deployment and service manifest files inside the cluster