Introduction
This blog will go into the art of AWS-smooth Angular application deployment. We’ll demonstrate the potential of automation by using AWS CodeBuild to build the app and AWS S3 to host it. Not only that but we’ll up your deployment game by distributing your software over AWS CloudFront. With this configuration, developers may concentrate entirely on code while the infrastructure handles deployment seamlessly. Let’s get started on this quest to make Angular app deployment on AWS easier.
Configuration steps: –
- Setup a GitHub repository for your angular application with all the necessary files

- Now create a S3 bucket on which the artifacts of the code will be stored after being built by the AWS Codebuild and then further
getdistributed via the Cloudfront URL. - Open Your AWS Management Console after logging into your Amazon Web Services account with your IAM user.
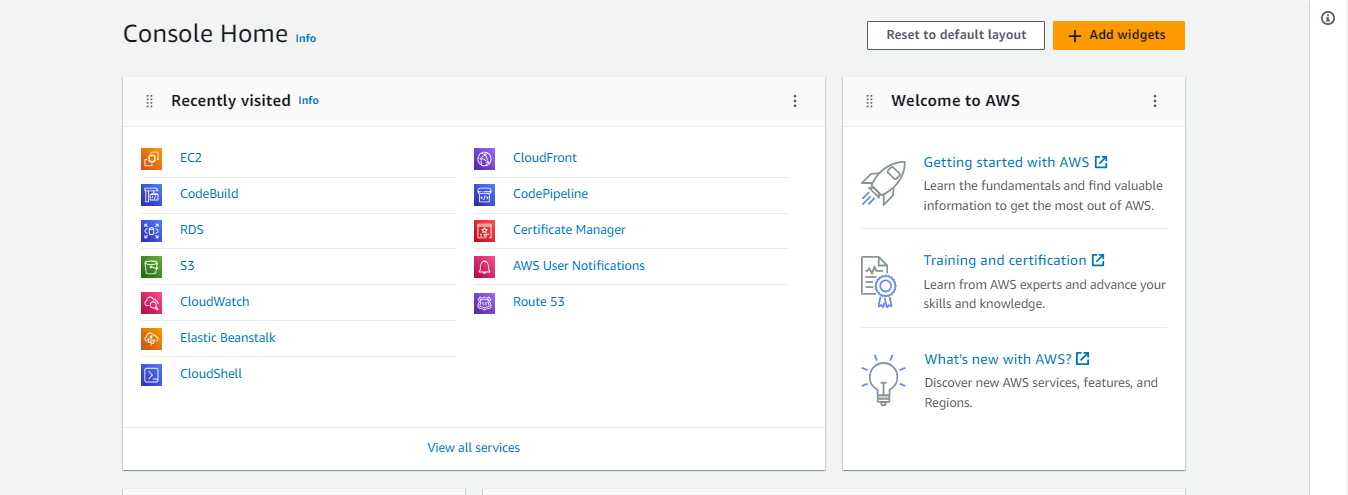
- Go to the search bar and type S3. If you click on it you’ll be redirected to the S3 dashboard.

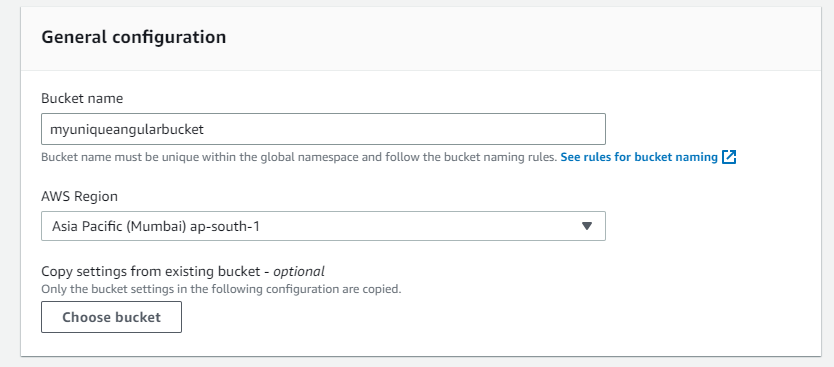
- Click on Create bucket button. And in the general configuration, give
ana unique name to your bucket and select the AWS region for your bucket which in our case will be ap-south-1 (Mumbai).
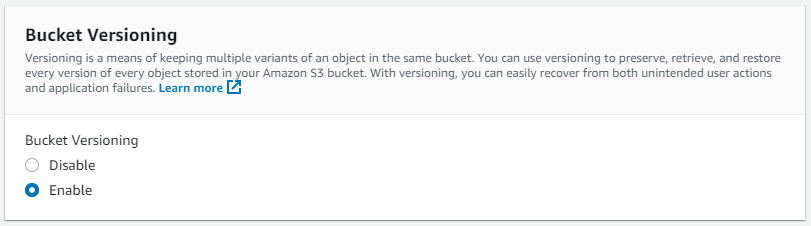
- In the next steps keep the rest options for ACL, Block Public access as default and only enable the Bucket versioning for your bucket.
- Keep the encryption of the object same as the bucket encryption. By default the bucket is encrypted with Amazon SSE-S3 encryption.

- Click on the Create bucket icon.

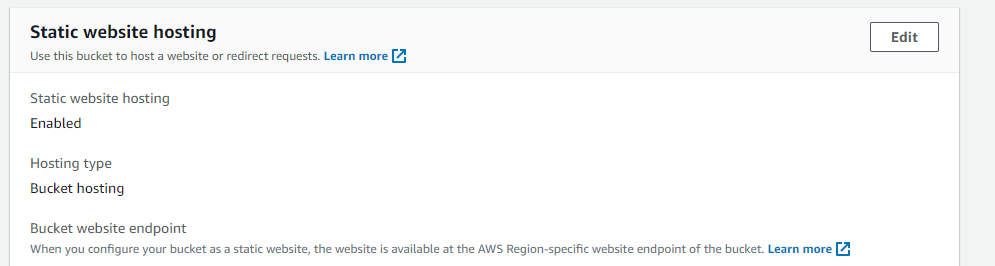
- Once the bucket is created we need to enable the static web hosting. For that go to the properties of your bucket , enable the static website hosting
and,add the index.html at the start and error pages.
- Now create a Codebuild project to setup connection between our GitHub repository and Amazon S3 bucket for storing the artifacts.
- Go to the search box of your Amazon console, type Codebuild and click on it.
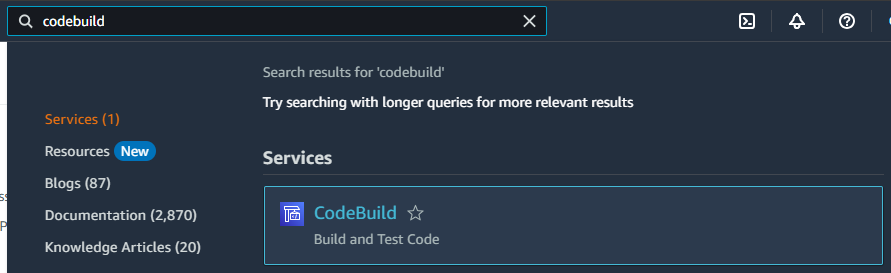
- Once clicked it will redirect you to the Codebuild dashboard. And click on Create build project.
- In the Project Configuration block add a name and description to your project.

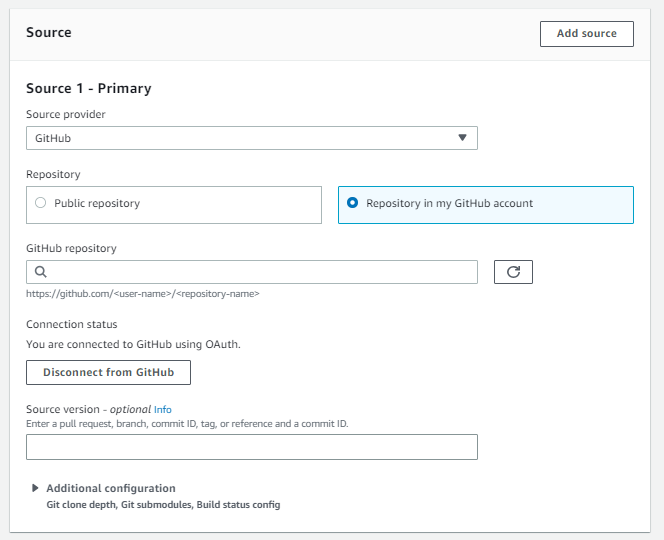
- In the Source block, select provider and authenticate, and then choose your repository in which your angular application and necessary files are present.
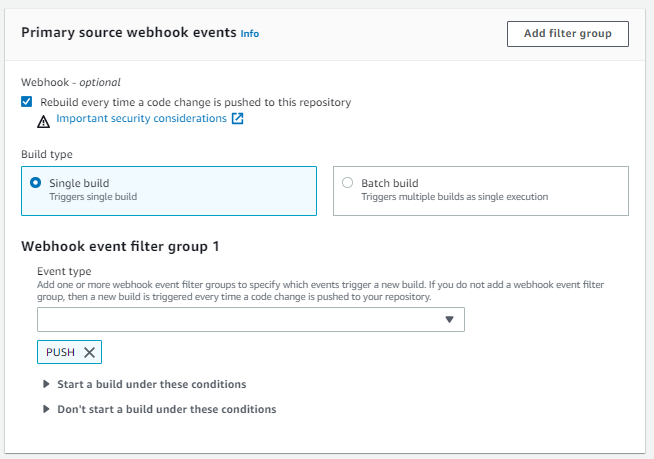
- In the Primary source webhook events block, check the Rebuild everytime a code is pushed in to the repository option. Select Build type as Single Build and Webhook event type as PUSH
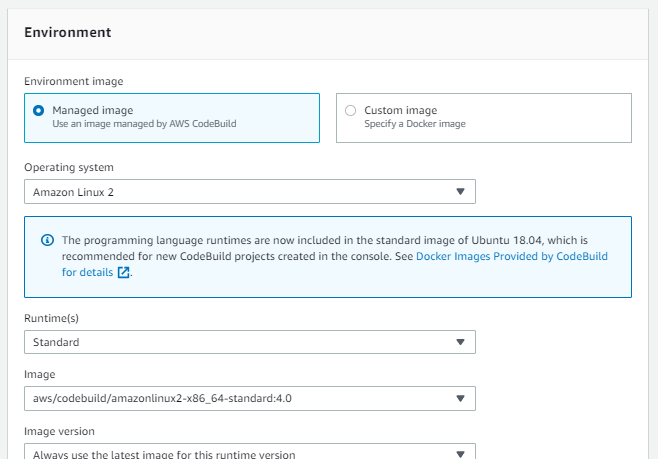
- In the Environment block, we will be defining the variables and values that our code will require and the image or OS it will use to build the application. A Codebuild service role will be created at this block in order to configure the IAM access for these operations.
- Next is the buildspec block. In this block you have to mention a buildspec.yml file that should be created in your root repository.
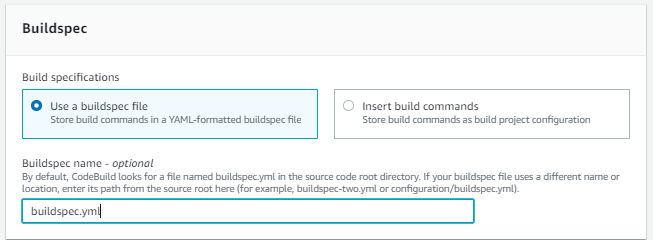
- Here is an example of the buildspec.yml file for an angular application
version: 0.2
phases:
install:
runtime-versions:
nodejs: 16
commands:
– echo Installing source NPM dependencies…
– npm install -g @angular/cli@15.2.5
– npm install
build:
commands:
– echo Build started for $BUILD_ENV on `date`
– npm run build
– echo Build completed…
post build:
commands:
– echo Pre-Build started on `date`
– aws s3 sync ./dist s3://$BUCKET_NAME
– echo Pre-Build completed on `date`
artifacts:
files:
– dist/**/*
discard-paths: yes
- Now in the Artifacts block, select the location and bucket where you want to store the artifacts once they are built using the Codebuild.

- Click on Create build project.

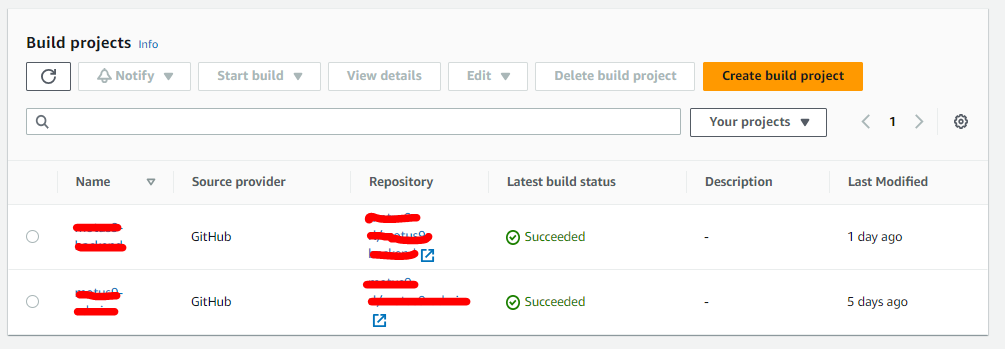
- Once the build project is created click on start build and observe the workings of the build process through logs and phase details.
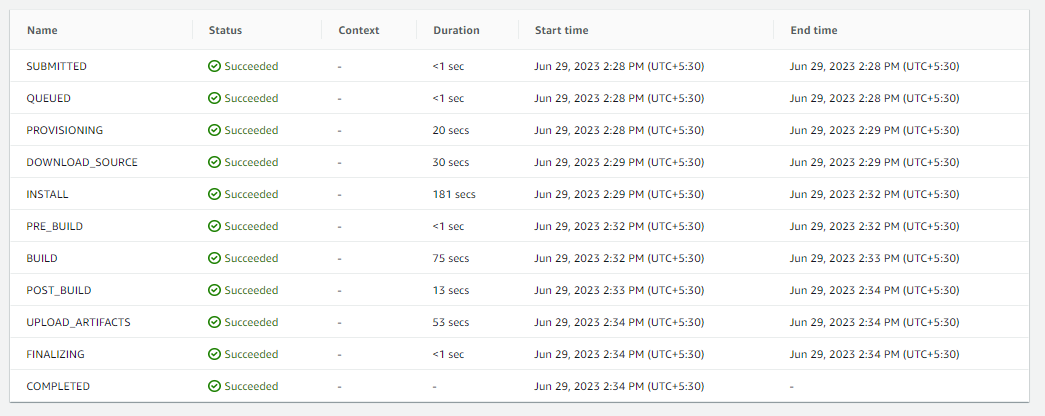
The above image shows that the build was successful, and now the artifacts are copied to your S3 bucket.
- Creating a Cloudfront distribution for my S3 bucket.
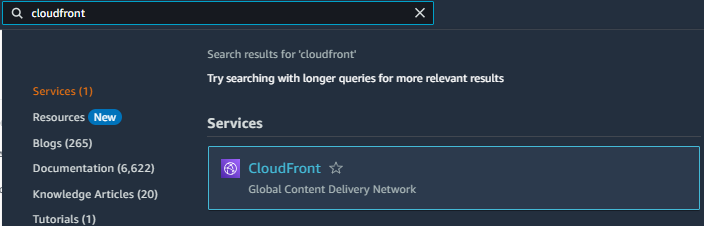
- Go to the Search box on your AWS management console, type Cloudfront,
andclick on it it will redirect you to Cloudfront console.
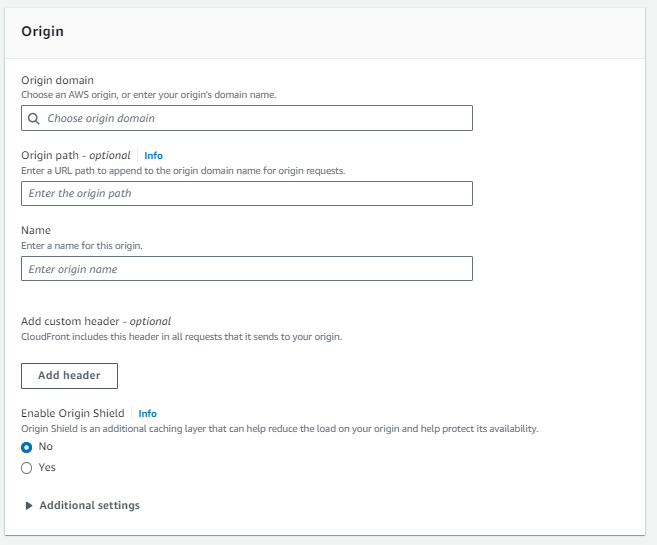
- Now click on Create a Cloudfront distribution.

- Now in the Origin block, enter the AWS origin, which in our case will be our S3 bucket
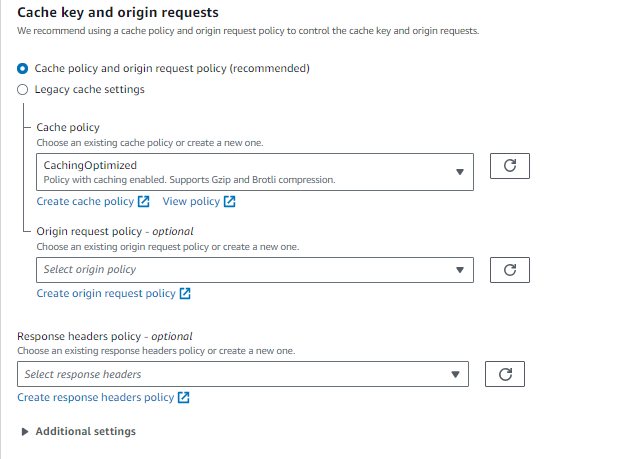
- Now in the Default cache behavior, select path pattern as default, compress objects as Yes, viewer protocol policy as Redirect Http to Https, allowed head for HTTP as GET HEAD, restrict viewer access as No and Cache policy as CacheOptimized
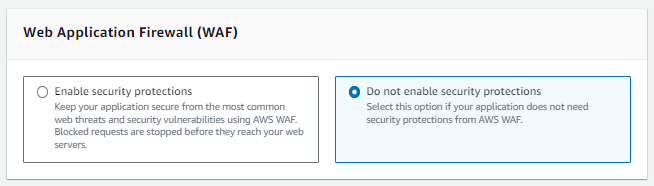
- In the Web application firewall click on do not enable security options for now.
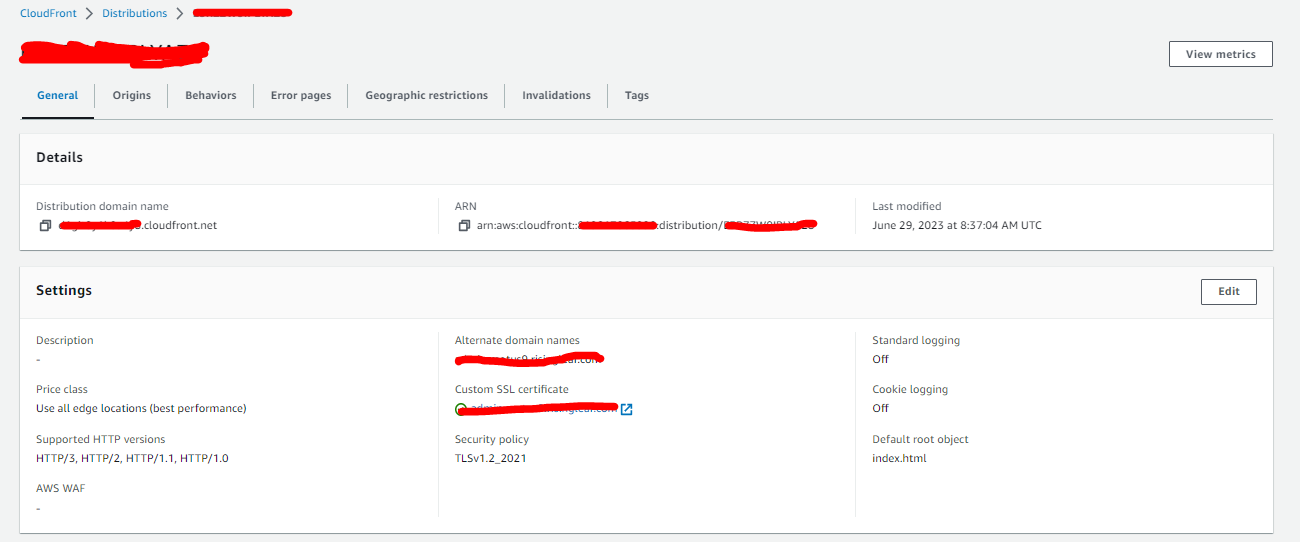
- In the Settings block, select the use all edge locations option for price class for best performances, and add CNAME if an alternate domain and SSL certificate are available. HTTP/2 and HTTP/3 can both be used and now click on Create distribution.
- It will generate an IAM policy for the bucket which can be copied to the policies.
- Now hit the Cloudfront URL and you’ll be able to see your angular application.